
In high-risk environments, the difference between a safe day and a catastrophic incident often comes down to minutes—sometimes seconds—before work begins. For an Electrical Spotter, the most critical time isn’t during the lift or the excavation; it’s in the pre-work phase.
Relying solely on memory or instinct can lead to missed hazards. That’s why the most effective spotters use a systematic checklist. This guide provides a practical, step-by-step pre-work checklist based on the nationally recognised UETDREL006 unit of competency. It translates your training into a daily routine that ensures you, the operator, and everyone on site goes home safe.
Why a Pre-Work Checklist is Non-Negotiable
Electricity is silent and invisible. By the time you see an arc or hear a bang, it’s too late. A pre-work checklist serves as your final, deliberate line of defence. It ensures that all controls are in place before the first machine moves or the first tool touches a conductor. It also provides documented evidence of your due diligence, which is invaluable during safety audits.
The 7-Step Electrical Spotter’s Pre-Work Checklist
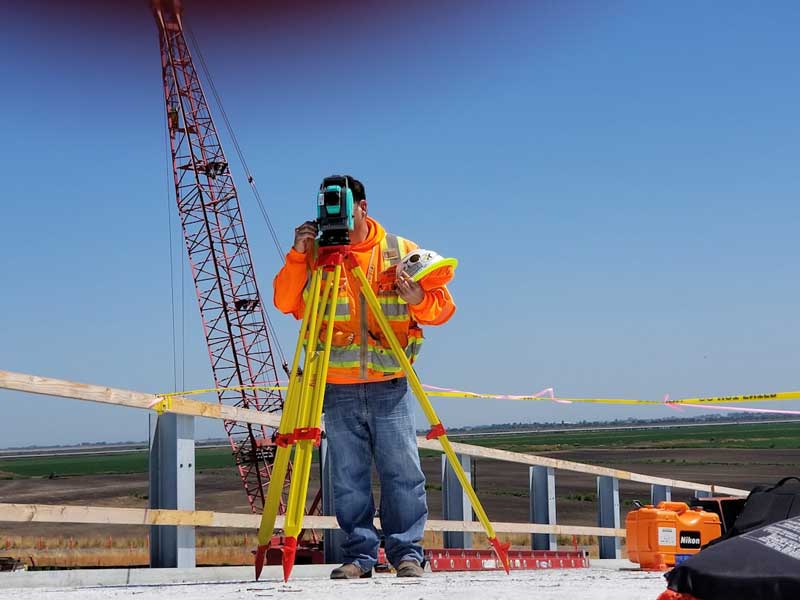
Use this checklist before every single task involving cranes, excavators, elevated work platforms (EWPs), or any plant near live electrical apparatus. Print it, laminate it, and keep it with your site paperwork.
Step 1: Verify Permits, Documentation & Site Conditions
- Work Plan: Have you reviewed the day’s work plan and confirmed the specific task?
- Permits: Are all required work permits (e.g., Sanction for Access, Test Permit) issued, received, and understood by the team?
- Asset Identification: Have you physically identified the exact electricity infrastructure assets involved? Confirm the voltage levels and the required Safe Approach Distances (SADs) for those voltages. Remember, distances can vary based on the task and equipment.
- Legislation: Have you confirmed that your approach aligns with relevant legislation, standards, codes of practice, and site-specific workplace procedures?
Step 2: Establish Clear Communication Protocols
Poor communication is a primary cause of near-misses. Before any machinery starts:
- Method: Agree on the communication method (two-way radio, hand signals, or a combination). Test the equipment to ensure it’s working on the correct channel and is free from interference.
- Roles: Reiterate your role as the Spotter. Confirm that the operator and all ground workers understand that you have the authority to stop the task immediately with a pre-agreed signal.
- Key Phrases: For radio communication, agree on simple, unmistakable phrases like “Stop,” “Move left,” and “All clear.”
As highlighted in real-world scenarios, a spotter’s clear command can be the only thing standing between a safe operation and a major incident. For powerful examples of this, read our analysis of Real Electrical Incident Case Studies.
Step 3: Inspect the Work Area and Equipment
- Exclusion Zone: Is the exclusion zone around the live apparatus clearly marked with barriers, bollards, or flags? Is it visible to the operator from their cab?
- Ground Conditions: Are the ground conditions stable for the plant and equipment? Is there a risk of the ground giving way, causing the machinery to encroach on the SAD?
- Tools & PPE: Have you and the team visually inspected all required materials, plant, tools, and Personal Protective Equipment (PPE) to ensure they are suitable for the task and in safe working order? This includes checking for damaged insulation on tools.
Step 4: Position Yourself for Maximum Visibility
Your position is your power. Before work begins:
- Line of Sight: Position yourself where you have a continuous, unobstructed view of the operator, the load/machine, and the live electrical apparatus. This may mean moving during the task, but you must start from the optimal spot.
- Safe Location: Ensure your own position is safe from the work activity (e.g., out of the swing radius, away from potential dropped loads) while maintaining your observation post.
- Confirm with Operator: Before the first movement, confirm with the operator that they can see you clearly and understand your positioning.
Step 5: Conduct the Pre-Start Risk Assessment
- Dynamic Hazards: Gather the team for a quick pre-start meeting. Re-identify the hazards for this specific task. Have any new hazards appeared since the main risk assessment was done (e.g., new site vehicles, changes in weather)?
- Control Measures: Verbally confirm that all identified control measures are in place and that everyone understands their role in maintaining them.
- Monitoring Plan: Briefly discuss how you will monitor the effectiveness of these controls throughout the task.
Step 6: Final Go/No-Go Verification
This is your last check. If any answer is “no,” do not start.
- Is the exclusion zone respected and clearly marked?
- Is the communication protocol tested and understood by all?
- Is the operator ready and waiting for your “all clear” signal?
- Are you confident that the task can be performed without breaching the safe approach distance?
Step 7: Confirm Emergency Response Readiness
- Emergency Plan: Does everyone know the immediate steps to take if an incident occurs (e.g., contact with live apparatus)?
- Reporting: Do you know how to respond to and report incidents or unplanned events? Who is the first point of contact?
- First Aid: Is first aid equipment readily accessible, and are trained personnel on site?
From Checklist to Competence: Formalise Your Skills
A checklist is a vital tool, but it works best when backed by formal, nationally recognised training. It ensures you have the deep understanding of why each step is critical and the practical skills to fulfil every item on this list with confidence—even under pressure. For a broader look at the daily duties that inform this checklist, explore our complete Guide to Electrical Spotter Responsibilities.
Don’t leave safety to chance. Get formally qualified as a competent Electrical Spotter.
This course provides the formal Statement of Attainment you need to prove your competence under the Australian Qualifications Framework.
Step 1: Verify Permits, Documentation & Site Conditions
- Work Plan: Have you reviewed the day’s work plan and confirmed the specific task?
- Permits: Are all required work permits (e.g., Sanction for Access, Test Permit) issued, received, and understood by the team?
- Asset Identification: Have you physically identified the exact electricity infrastructure assets involved? Confirm the voltage levels and the required Safe Approach Distances (SADs) for those voltages. Remember, distances can vary based on the task and equipment.
- Legislation: Have you confirmed that your approach aligns with relevant legislation, standards, codes of practice, and site-specific workplace procedures?
Step 2: Establish Clear Communication Protocols
Poor communication is a primary cause of near-misses. Before any machinery starts:- Method: Agree on the communication method (two-way radio, hand signals, or a combination). Test the equipment to ensure it’s working on the correct channel and is free from interference.
- Roles: Reiterate your role as the Spotter. Confirm that the operator and all ground workers understand that you have the authority to stop the task immediately with a pre-agreed signal.
- Key Phrases: For radio communication, agree on simple, unmistakable phrases like “Stop,” “Move left,” and “All clear.”
Step 3: Inspect the Work Area and Equipment
- Exclusion Zone: Is the exclusion zone around the live apparatus clearly marked with barriers, bollards, or flags? Is it visible to the operator from their cab?
- Ground Conditions: Are the ground conditions stable for the plant and equipment? Is there a risk of the ground giving way, causing the machinery to encroach on the SAD?
- Tools & PPE: Have you and the team visually inspected all required materials, plant, tools, and Personal Protective Equipment (PPE) to ensure they are suitable for the task and in safe working order? This includes checking for damaged insulation on tools.
Step 4: Position Yourself for Maximum Visibility
Your position is your power. Before work begins:- Line of Sight: Position yourself where you have a continuous, unobstructed view of the operator, the load/machine, and the live electrical apparatus. This may mean moving during the task, but you must start from the optimal spot.
- Safe Location: Ensure your own position is safe from the work activity (e.g., out of the swing radius, away from potential dropped loads) while maintaining your observation post.
- Confirm with Operator: Before the first movement, confirm with the operator that they can see you clearly and understand your positioning.
Step 5: Conduct the Pre-Start Risk Assessment
- Dynamic Hazards: Gather the team for a quick pre-start meeting. Re-identify the hazards for this specific task. Have any new hazards appeared since the main risk assessment was done (e.g., new site vehicles, changes in weather)?
- Control Measures: Verbally confirm that all identified control measures are in place and that everyone understands their role in maintaining them.
- Monitoring Plan: Briefly discuss how you will monitor the effectiveness of these controls throughout the task.
Step 6: Final Go/No-Go Verification
This is your last check. If any answer is “no,” do not start.- Is the exclusion zone respected and clearly marked?
- Is the communication protocol tested and understood by all?
- Is the operator ready and waiting for your “all clear” signal?
- Are you confident that the task can be performed without breaching the safe approach distance?
Step 7: Confirm Emergency Response Readiness
- Emergency Plan: Does everyone know the immediate steps to take if an incident occurs (e.g., contact with live apparatus)?
- Reporting: Do you know how to respond to and report incidents or unplanned events? Who is the first point of contact?
- First Aid: Is first aid equipment readily accessible, and are trained personnel on site?


